Views: 0 Author: Site Editor Publish Time: 2023-07-31 Origin: Site

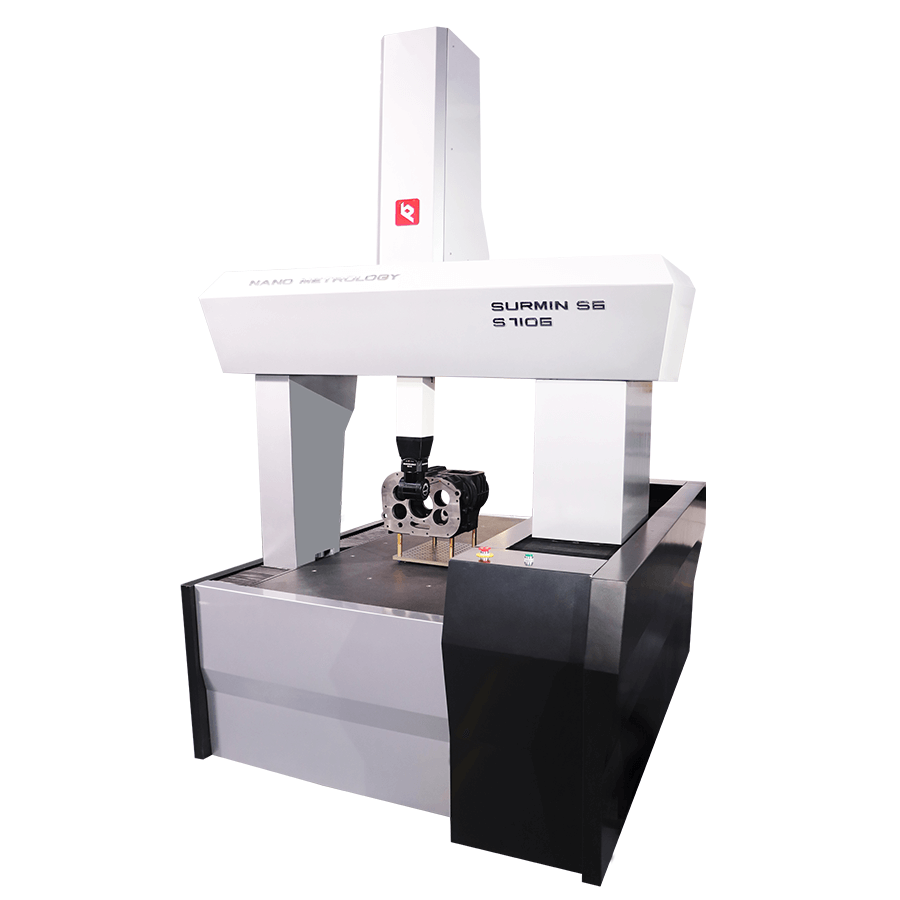
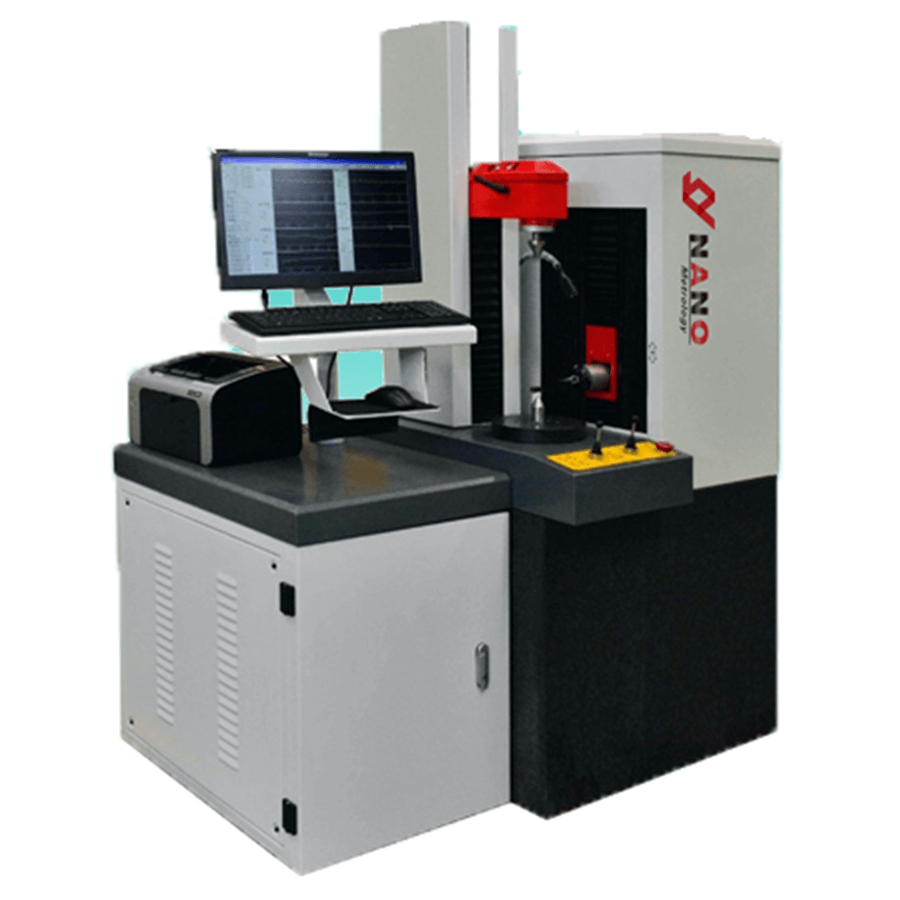
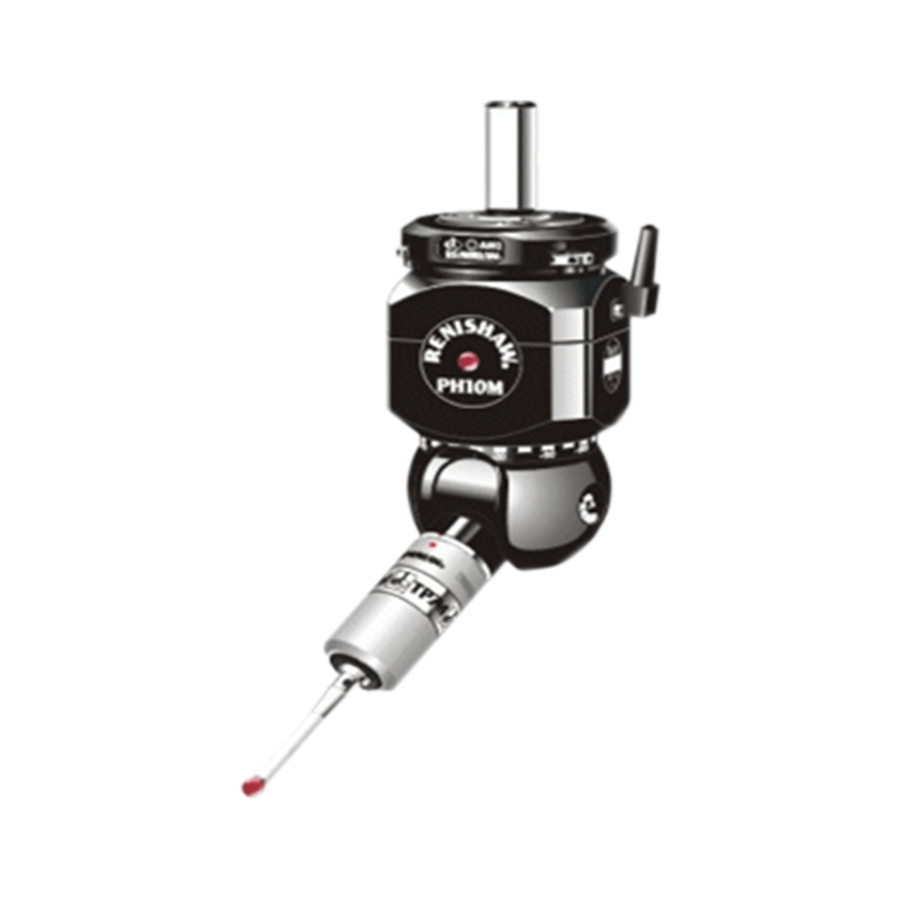
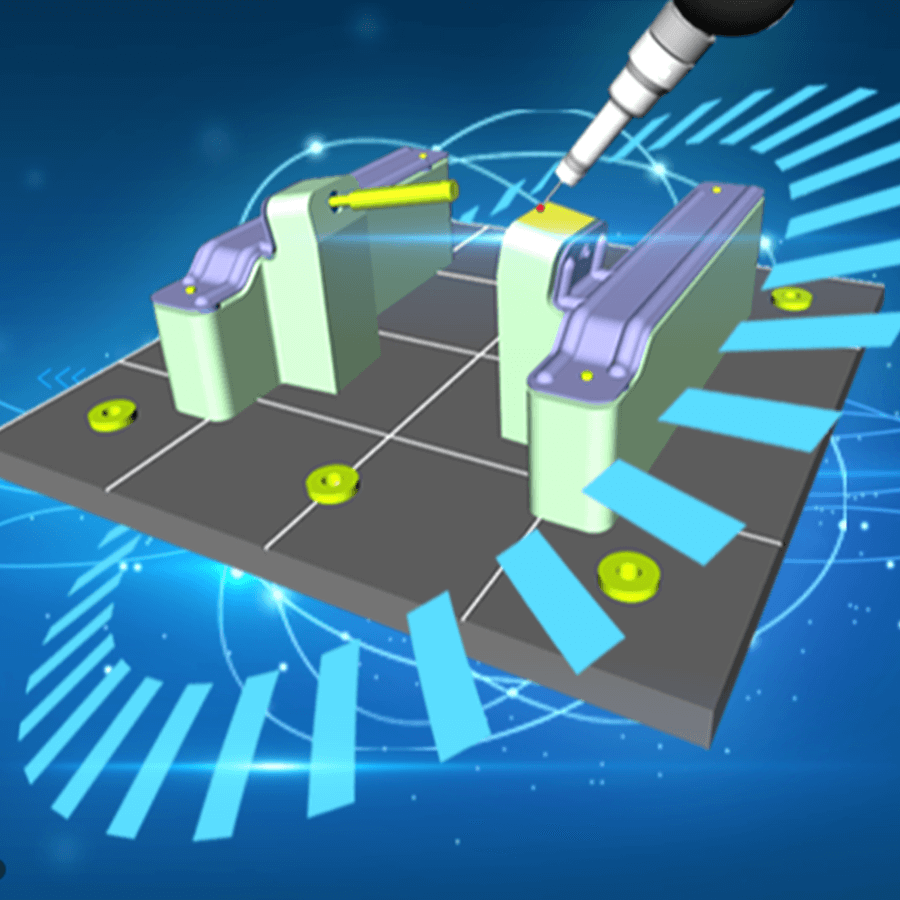
The PH10T Motorised Indexing Probe Head is an essential component in coordinate measuring machines (CMMs) used for precision measurement and inspection. This innovative probe head allows for automatic indexing and rotation, enabling efficient and accurate measurements from various angles. In this article, we will discuss the installation and calibration steps required for the proper integration and operation of the PH10T probe head.
Step 1: Preparation
Before installing the PH10T probe head, ensure that all necessary equipment and tools are readily available. This includes the CMM, mounting brackets, stylus modules, and any specific adapters required for your measurement application. Familiarize yourself with the user manual provided by the manufacturer to better understand the installation process.
Step 2: Mounting the PH10T Probe Head
Carefully align the mounting brackets with the designated positions on the CMM machine. Secure the brackets in place using the provided screws, ensuring a stable and rigid connection. Double-check the alignment to avoid any future calibration issues.
Step 3: Electrical Connection
Connect the electrical cables of the PH10T probe head to the corresponding ports on the CMM control unit. Follow the manufacturer’s guidelines for proper cable routing and ensure that all connections are secure. Check for any error messages on the CMM interface to ensure successful communication between the probe head and control unit.
Step 4: Software Integration
Once the hardware components are properly installed and connected, it is essential to integrate the PH10T probe head with the CMM software. This step involves communicating with the control software to recognize and configure the probe head. Follow the software-specific instructions provided by the manufacturer to complete this process successfully.
Step 5: Calibration
Calibration is a critical step to ensure accurate measurement results. Start by selecting the appropriate stylus module for your measurement requirements. Follow the manufacturer’s guidelines to mount the stylus module securely onto the probe head. Then, initiate the calibration process using the CMM software, which typically involves probing a series of known reference points. The software will guide you through the calibration procedure and provide feedback on the accuracy of the probe head.
The PH10T Motorised Indexing Probe Head offers a reliable solution for precise measurements in various industries. By following the installation and calibration steps outlined above, users can integrate this advanced probe head seamlessly into their CMM systems. The secure mounting, proper electrical connection, software integration, and thorough calibration of the probe head are essential for achieving accurate and repeatable measurement results. With the PH10T probe head, users can unlock a new level of precision and efficiency in their measurement processes.